Follow the setup checklist
Set up your calculators in four steps and track your progress.
Before you start
- Sign in to the portal. After you sign up, the portal opens Get started for you.
- You can open it again at any time from Get started in the left navigation.
Steps
-
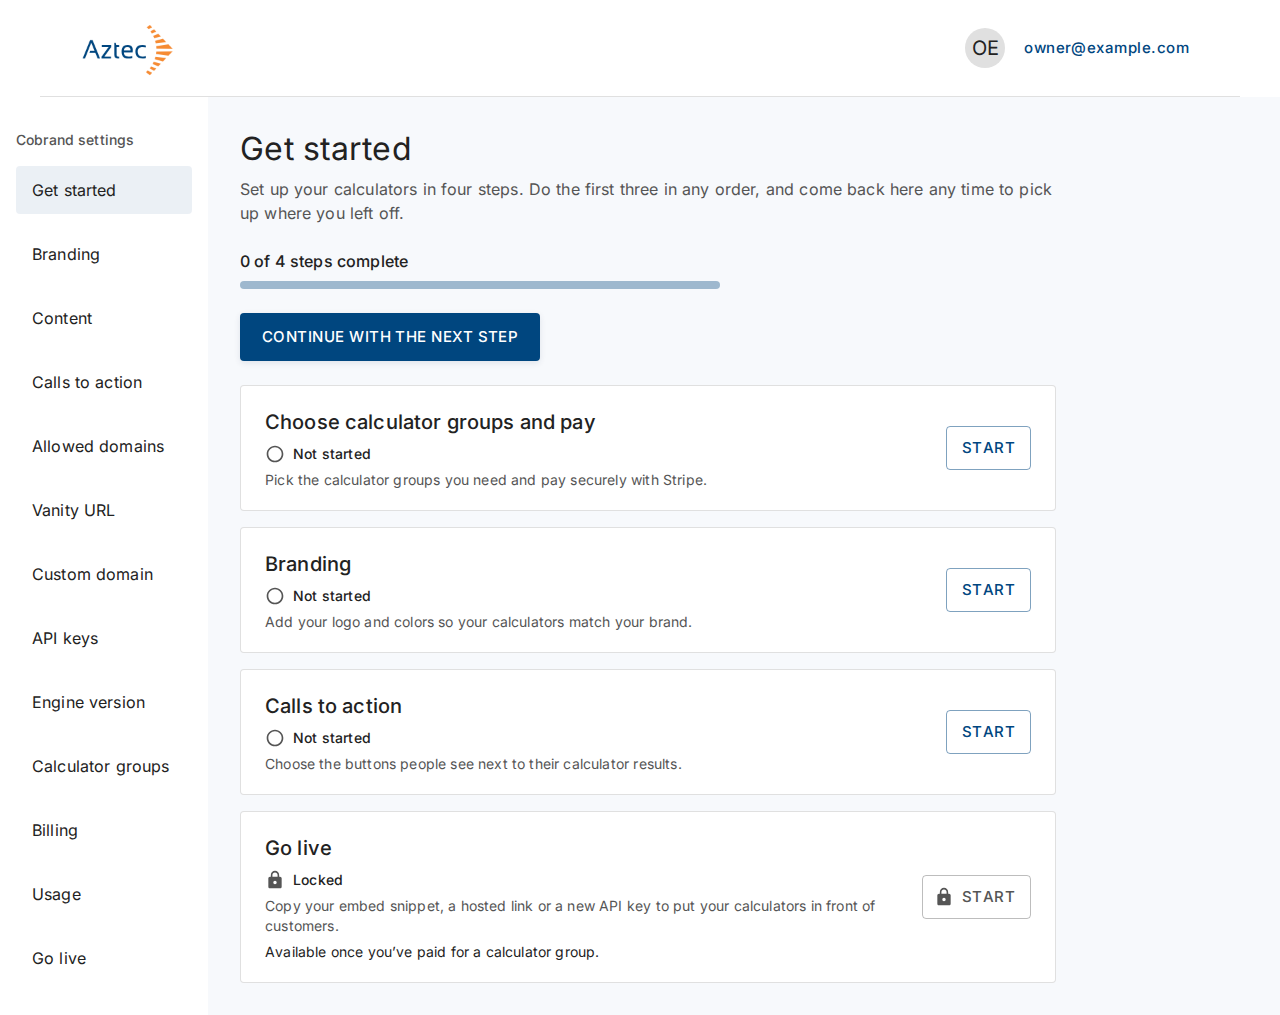
Read the progress line, for example 0 of 4 steps complete.
-
Select Continue with the next step to open the next step, or select Start on any step.
-
Work through the steps. Do the first three in any order:
- Choose calculator groups and pay: pick your calculator groups and pay with Stripe.
- Branding: add your logo and colors.
- Calls to action: choose the buttons next to calculator results.
- Go live: copy your embed snippet, a hosted link or a new API key. This step stays Locked until you have paid for a calculator group.
-
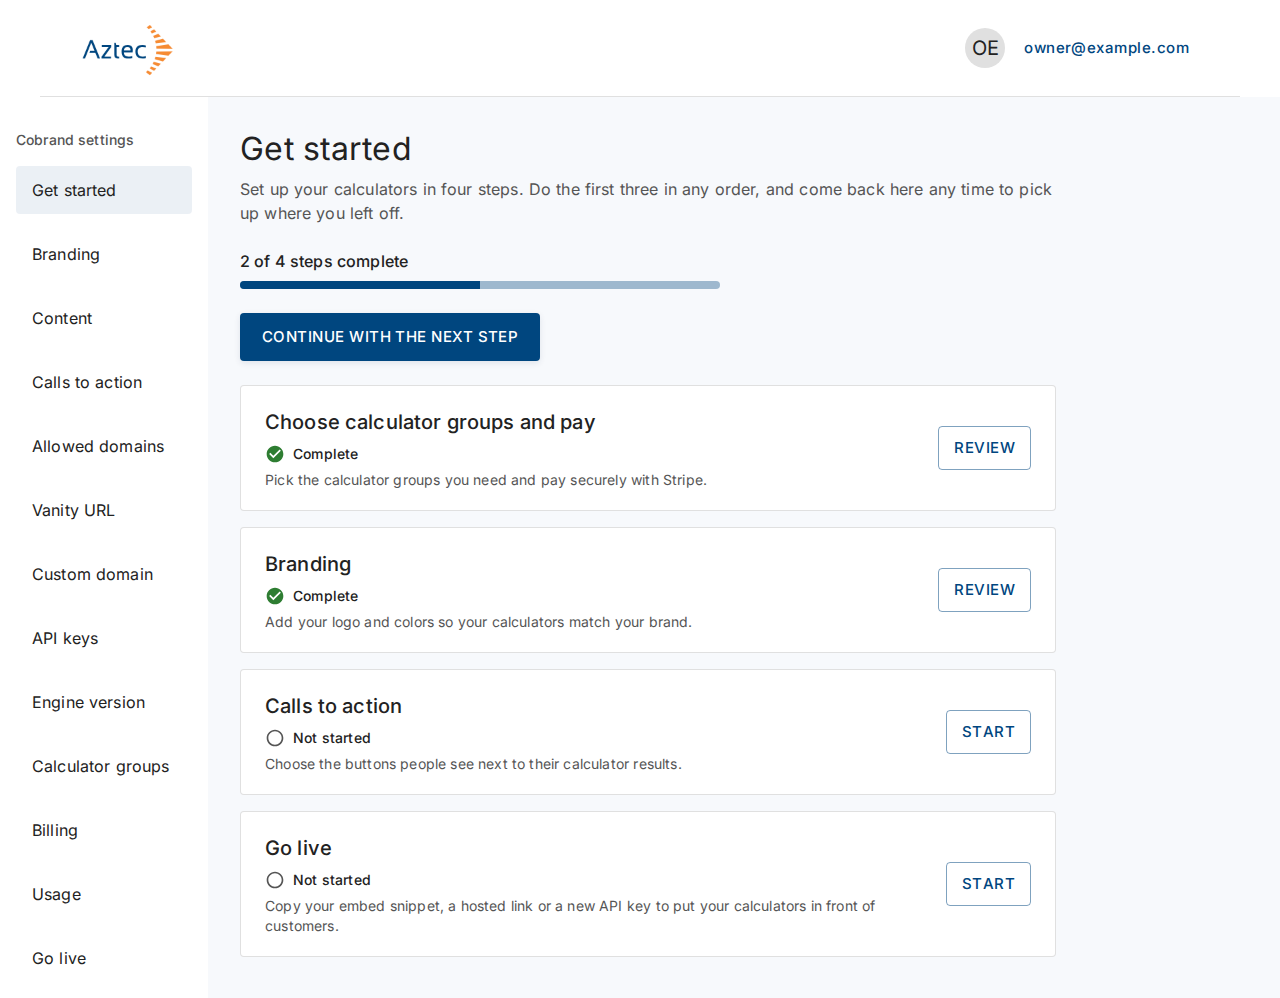
When you finish a step in the portal, you return to Get started. A finished step shows Complete and its button changes to Review.
-
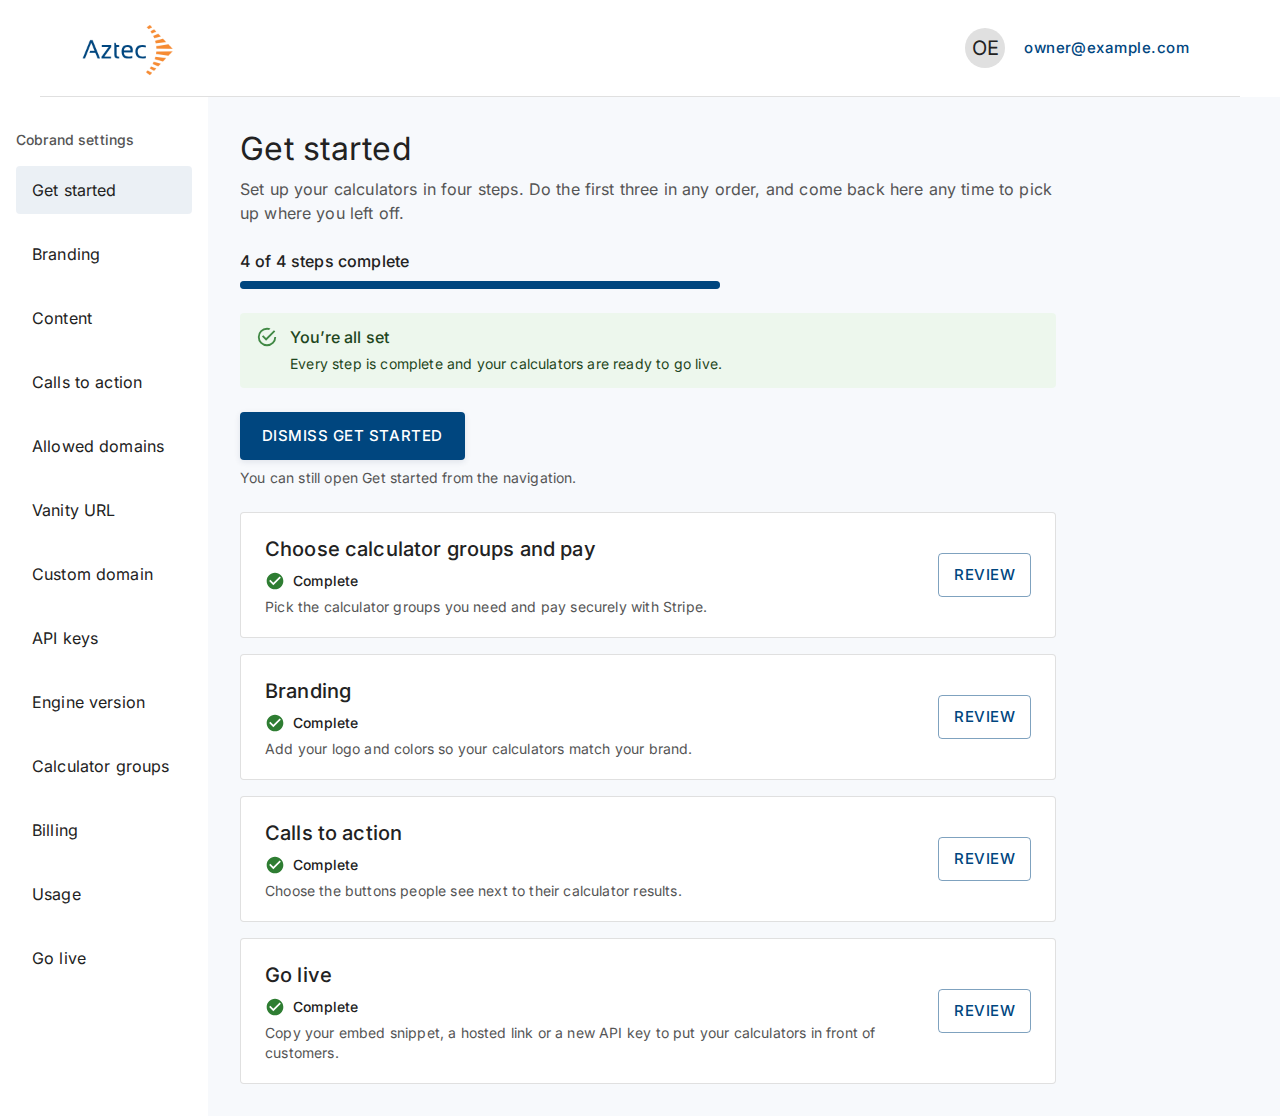
When all four steps are complete, select Dismiss Get started if you no longer want the checklist as your landing page. You can still open it from the navigation.
What you see when it works
The progress line shows 4 of 4 steps complete and a You’re all set message appears.
Troubleshooting
-
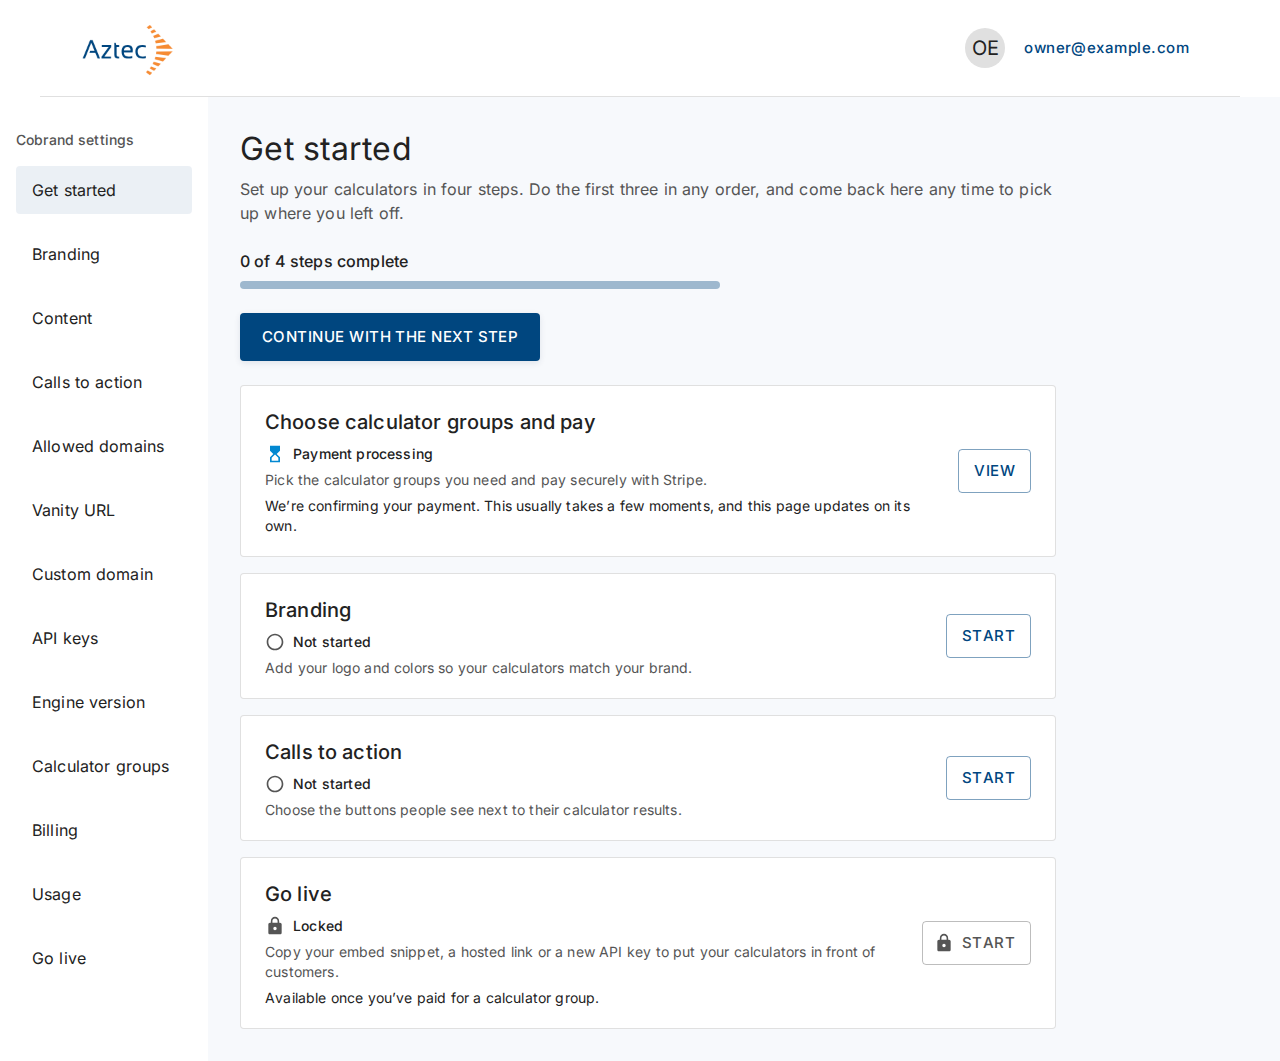
Payment processing on the first step: the portal is confirming your payment. This usually takes a few moments, and the page updates on its own.
-
Locked on Go live: pay for a calculator group first. See Group purchase checkout.
-
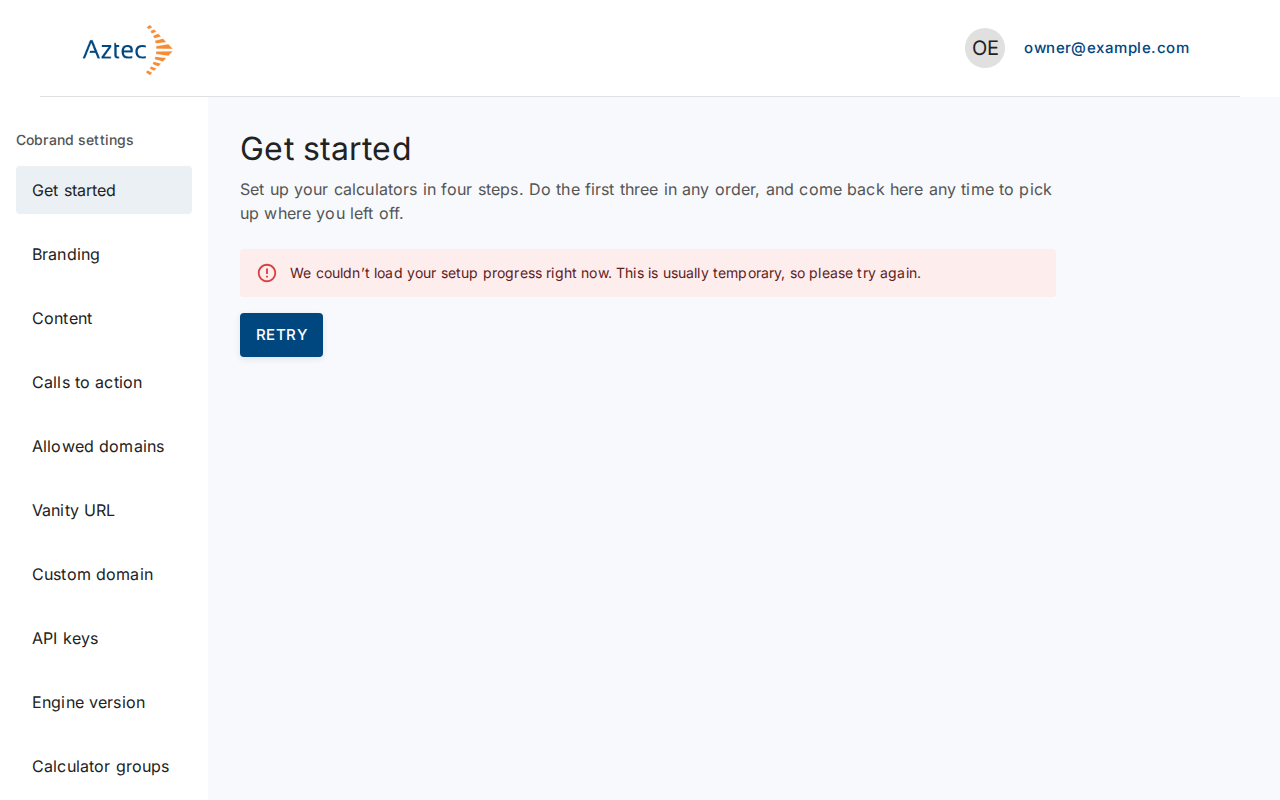
We couldn’t load your setup progress right now. This is usually temporary. Select Retry.
-
We couldn’t dismiss Get started. Please try again. Select Dismiss Get started again.